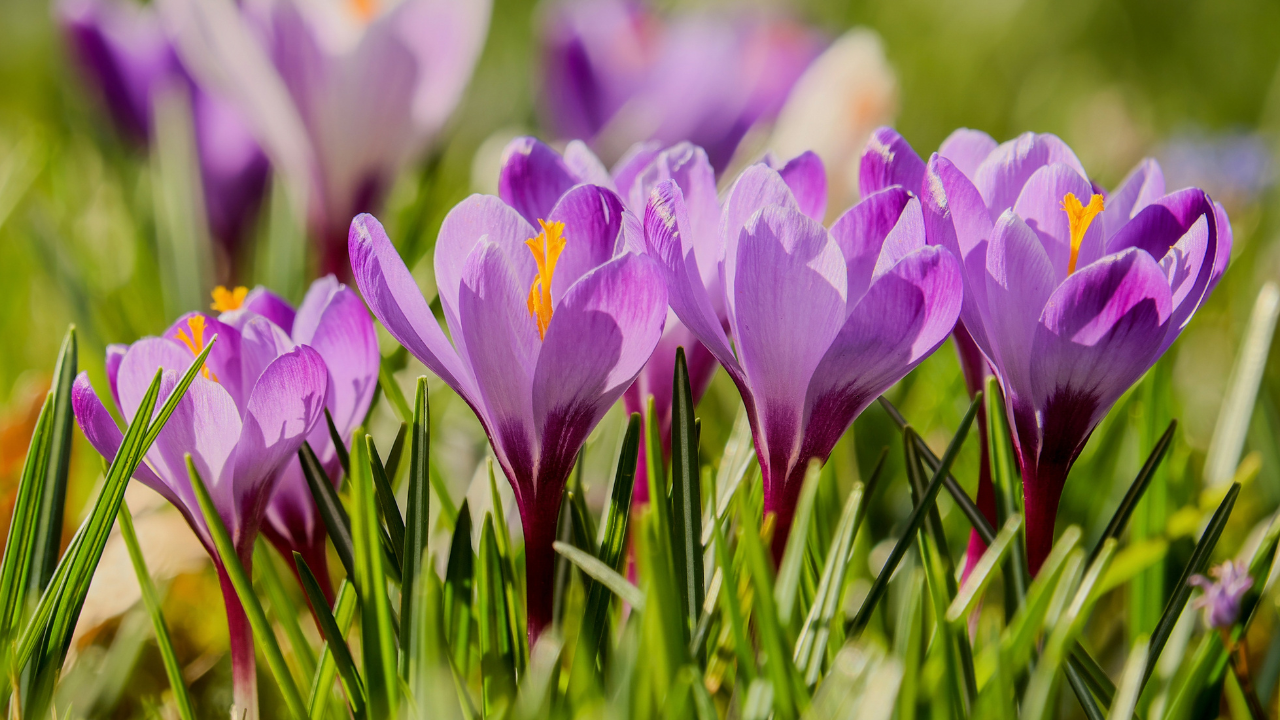
I hope you’re all having a great March so far! The days are getting longer, and with the clocks about to change, we’ll soon have extra daylight to spend in the garden. It’s been a busy couple of weeks here, and now that the soil is warming up, there are plenty of seeds we can finally start sowing directly outdoors!
🌿 What to Sow Outdoors in Late March
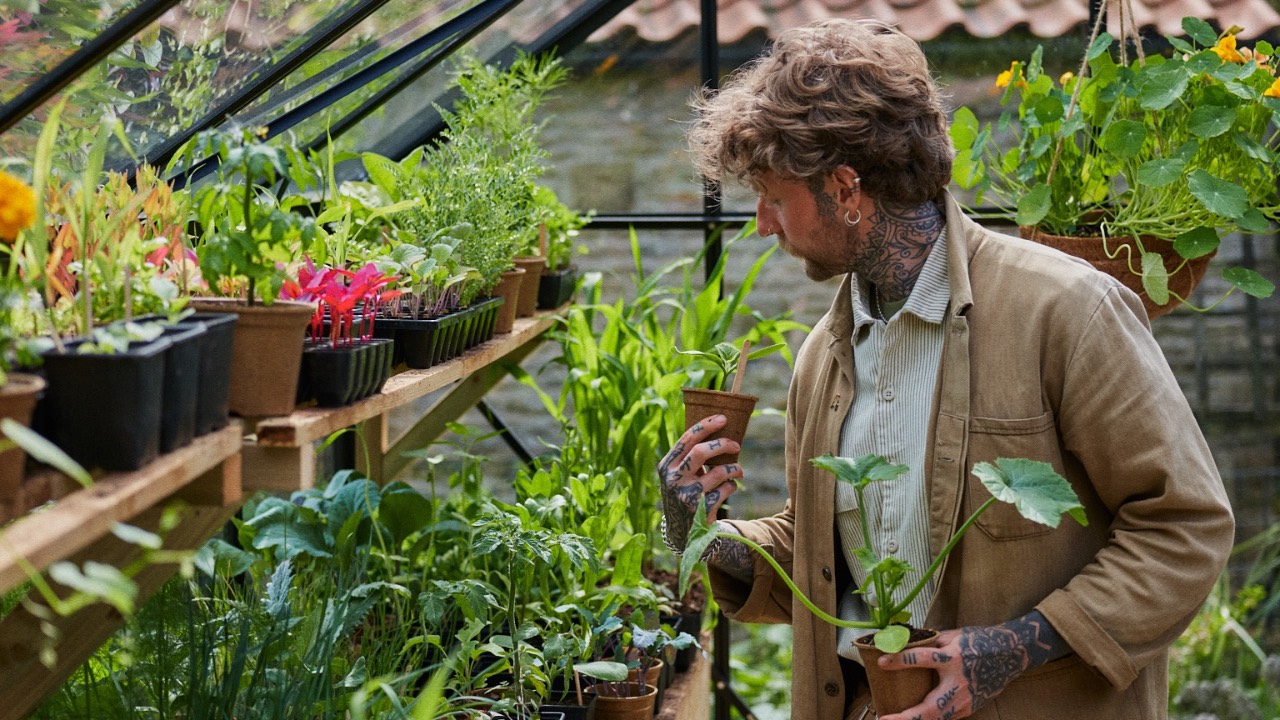
Now is the perfect time to start direct sowing a variety of hardy vegetables, herbs, and flowers. Here are some of my top picks:
🥕 Vegetables & Salad Crops
- Carrots – ‘Nantes’ and ‘Early Scarlet Horn’ are great for early sowing.
- Beetroot – Succession sow every few weeks for a continuous harvest.
- Radishes – Quick-growing and perfect for intercropping.
- Turnips – The small, sweet varieties are best for early sowing.
- Spring Onions – Hardy and ideal for sowing now.
- Spinach & Chard – Cold-hardy greens that will grow well with little protection.
- Peas & Mangetout – These can go directly in the ground now for an early summer harvest.
🌿 Herbs
- Parsley & Coriander – Can be sown outdoors but benefit from a cloche in colder areas.
- Chives & Dill – These will establish well if sown now.
🌸 Flowers for Pollinators
- Calendula (Pot Marigold) – Bright blooms that also have edible petals!
- Cornflowers – A cottage garden favourite that bees love.
- Nigella (‘Love-in-a-Mist’) – Beautiful seed heads and great for wildlife.
- Poppies – Hardy and perfect for direct sowing now.
💡 TOP TIP: If you’re living in a colder growing zone, use fleece or cloches to give young seedlings a little extra warmth and protection. Also keep an eye on overnight temperatures and add some fleece if there is a sudden cold snap.
🌱 Late March is the Perfect Time to Plant Seed Potatoes!
If you haven’t already planted your first early potatoes, now’s the time! Get them into the ground or large containers and cover with soil as they grow to protect the shoots from frost. Second earlies and maincrop varieties can also be planted now.
🌿 DIY Garden Project: Pallet Compost Bays
We’ve been busy at the community garden setting up a DIY compost bay using reclaimed pallets, and it’s a great project to try at home! Making your own compost not only reduces waste but also improves your soil naturally. Here’s how we built ours:
🛠 What You’ll Need:
- 4-10 wooden pallets, depending on how many bays you are building, i have 3 (check they’re HT-stamped, meaning heat-treated and chemical-free be particularly careful of any printed MB as this means methyl bromide and is not something you want in your compost!)
- Screws, nails, strong cable ties, or rope to hold them together.
- A drill or hammer to fix everything in place.
📌 Steps:
- Position three pallets upright to form the back and two sides of the compost bay.
- Use screws or cable ties to secure them together.
- Attach a fourth pallet at the front, either fixed in place or as a removable panel.
- If making multiple bays, repeat the process so you can turn the compost between sections.
- Start adding green (food scraps, grass cuttings) and brown (leaves, cardboard) materials to get your compost going!
- I find it useful to add a roof or cover to my compost bays as this allows me to regulate how much water they take on and also to harvest rain water! For a full tutorial on how I built a similar compost system check out the link to the youtube video below.
 |
🌍 Community Garden Update
It’s been an exciting few weeks at the community garden!
✅ The polytunnel frame is nearly complete – we just need to secure the cover! This will create a much-needed indoor growing space.
✅ DIY pallet compost bays are almost finished – a great way to recycle materials and produce nutrient-rich compost for the garden.
✅ We’ll be announcing the first volunteer days soon – if you’d like to get involved, follow the link below!
 |
🥗 Garden-to-Plate Recipe: Spring Greens & Chickpea Stir-Fry
This is a quick, plant-based meal that makes the most of seasonal greens!
Ingredients:
- 1 tbsp olive oil
- 1 small onion, sliced
- 2 cloves garlic, minced
- 1 bunch spring greens (or kale/spinach), chopped
- 1 tin chickpeas, drained & rinsed
- 1 tbsp soy sauce
- 1 tsp smoked paprika
- Juice of ½ lemon
- Toasted seeds (optional, for topping)
Instructions:
- Heat olive oil in a pan, then sauté the onion and garlic until softened.
- Add the greens and chickpeas, stirring well.
- Sprinkle in the paprika and soy sauce, cooking for another 5 minutes.
- Finish with a squeeze of lemon and top with toasted seeds for extra crunch.
Simple, nutritious, and ready in under 15 minutes!
🌟 Looking Ahead
In the next newsletter, I’ll be sharing:
- How to harden off seedlings ready for outdoor planting
- Best ways to support climbing plants like peas & beans
- More updates from the community gardening project
As always, I’d love to hear what you’re sowing and growing right now! Leave a comment with your garden updates, and I’ll see you in the next newsletter.
Happy gardening!
Jamie x

Responses