
I hope this finds you well and soaking up the joys of late April.
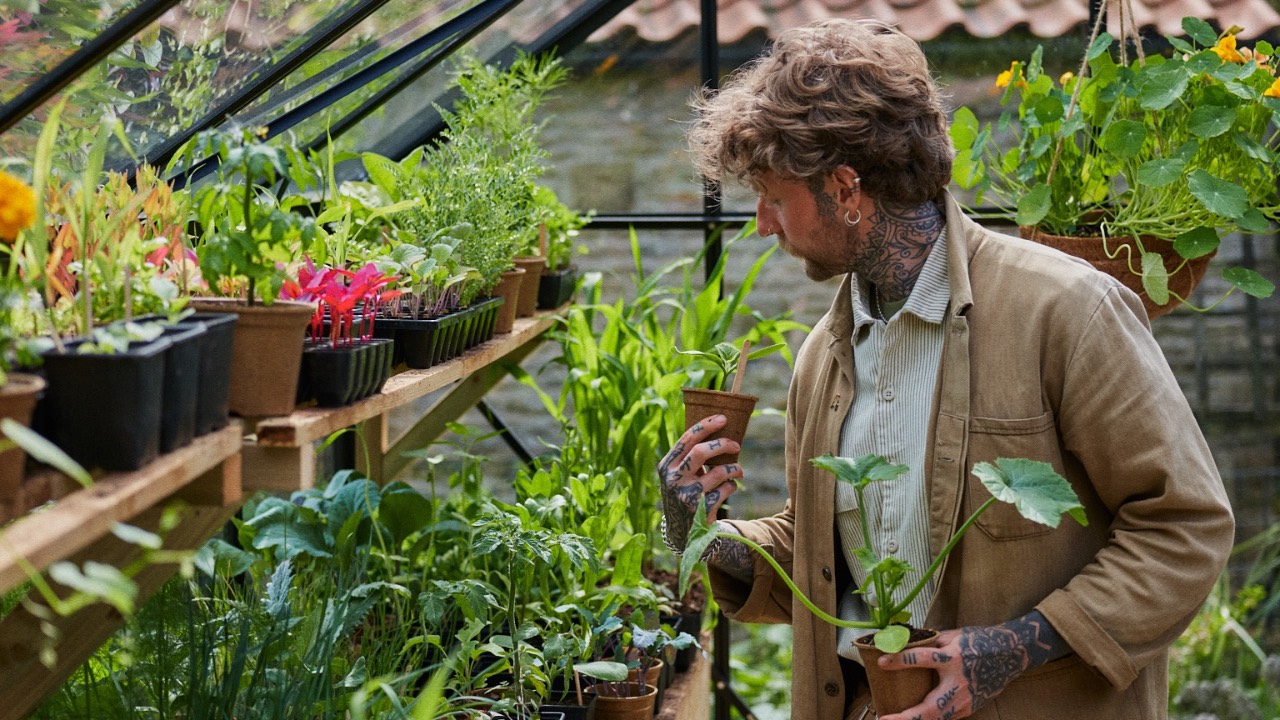
The days are noticeably longer, evenings are stretching out, and the garden feels full of possibility. April is always such a hopeful time — seedlings are up, fruit trees are flowering, and the pace of life in the garden really begins to pick up. Every day brings something new, and it’s a joy to just slow down and take it all in.
Late April is a brilliant time to sow pollinator-friendly flowers in the UK, especially as the weather warms up and insects begin to get more active. Here's a list of flowers you can sow now to support bees, butterflies, and other beneficial insects:
Pollinator-Friendly Flowers to Sow in Late April (UK)
Sow Indoors or Under Cover (to plant out after risk of frost has passed)
These benefit from a little warmth to get going but will thrive outdoors once established:
- Cosmos – Long flowering, easy to grow, and beloved by bees and hoverflies, one of my favoruites is Apricot Cosmos!
- Zinnias – Bold colours and long-lasting blooms that attract butterflies.
- Calendula (Pot Marigold) – Edible, cheerful, and rich in nectar.
- French Marigolds – Great for pollinators,companion planting and natural dyeing too.
- Nasturtiums – Loved by bees and can double as a trap crop for aphids and cabbage whites.
- Sunflowers – A big hit with bees when in bloom and birds when they go to seed.
- Sweet Peas – Especially the older varieties with stronger scents.
- Alyssum (Lobularia) – A low-growing flower that’s great for hoverflies and bees.
Sow Direct Outdoors (Hardy Annuals and Wildflowers)
Perfect for scattering into prepared beds or wild patches in your garden:
- Cornflowers – Classic cottage garden flower, very attractive to bees.
- Poppies – Especially field poppies (Papaver rhoeas), which support wild pollinators.
- Nigella (Love-in-a-Mist) – Delicate blooms and a pollinator magnet.
- Clarkia – Pretty pink flowers, easy to grow, and good for bees.
- Borage – Rapid-growing herb with edible, starry blue flowers rich in nectar.
- Phacelia – Incredible for bees and can also be used as a green manure.
- Wildflower Mixes – Great for biodiversity — look for UK native mixes for the best support to local wildlife and beware of some of the cheaper boxed options as these tend to be heavy on the vermiculite andlight on seeds.
Top Tips for supporting Pollinators
- Stagger your sowings for a longer bloom time.
- Include a mix of flower shapes and colours to appeal to different pollinators.
- Allow some flowers to go to seed — many beneficial insects love seed heads too.
- Please avoid chemical pesticides, grow ecologically and organically — pesticides are detrimental to the creatures we’re trying to support!
How to Build a No-Dig Ground Bed for Summer Planting
If you're looking to prepare a bed for summer veg and the coming season, here is how i create my no dig ground beds. Not only is it easier on you, it’s also better for the soil, feeding the worms, locking in carbon, and creating a healthier growing environment for your plants. Remember, if you look after teh soil it will look after your plants
Here’s how to build your own no-dig ground bed in a few simple steps:
What You'll Need:
- Cardboard (brown, uncoated and tape-free) I like to order recyled packaging rolls but you could use old boxes, just make sure you remove any tape or staples and are opting for boxes without paints or inks
- Compost – ideally organic and of good quality but work within your budget (if you make your own, great!)
- Mulch – optional, like straw, grass clippings or woodchip for paths
- A space with access to light and water!
-
Choose Your Spot
Find a sunny area (most fruiting and leafy veg love 6–8 hours of sun) and remove any bulky 'weeds' or brambles if needed — no need to turn or disturb the soil structure but digging to remove large roots of persistence 'weeds' such as docks can be useful. -
Lay Down Cardboard
Cover the ground with overlapping cardboard to block light and suppress weeds. Wet it thoroughly so it doesn’t blow away and begins to break down faster. -
Add Compost
Pile on a minimum of 10–15 cm of good-quality compost right on top of the cardboard. You can use homemade compost, shop-bought, mushroom compost, or well-rotted manure — a mix is great if you have it! -
Mulch the Pathways (Optional)
If you’re building multiple beds with paths in between, you can lay woodchip or straw in the gaps to keep things tidy and reduce weeds, I like to use woodchip but another option is cover crops or leaving it grassed and mowing when needed. -
Plant Straight Into the Compost
You can sow seeds or transplant seedlings directly into the compost layer. As the cardboard breaks down, roots will grow through into the soil below, creating a rich, living bed. -
Water Well
Give everything a good soak after planting and keep an eye on moisture, especially in the early stages.
No-dig beds aren’t just great for new spaces — they’re also a wonderful way to revive tired soil or turn grassy areas into growing space with minimal effort. It's gentle, regenerative gardening at its best.
Garden-to-Plate Recipe: Spring Greens & Lemon Orzo with Toasted Seeds
A fresh, zingy one-pot dish that’s easy, adaptable, and packed with goodness.
Serves: 2–3 generously
Plant Based | 30 mins | One-pot
Ingredients:
- 1 tbsp olive oil
- 2 spring onions, finely chopped
- 2 cloves garlic, minced
- Zest and juice of 1 lemon
- 150g orzo pasta (or pearl barley if you want a slower-cook version)
- 500ml hot vegetable stock
- A large handful of purple sprouting broccoli (or tenderstem)
- A large handful of chard leaves, stems finely chopped and leaves shredded
- A handful of frozen peas or broad beans (optional, I still have some in the freezer from last year)
- Salt & pepper, to taste
To top:
- 2 tbsp mixed seeds (sunflower, pumpkin, sesame)
- A drizzle of olive oil or a spoonful of plant-based yogurt
- Fresh herbs: parsley or mint (if available)
Method:
-
Sauté the base:
In a medium saucepan, heat olive oil over medium heat. Add chopped spring onions and garlic. Sauté for 2–3 minutes until soft and fragrant. -
Add orzo & stock:
Stir in the orzo to coat with the oil. Add the lemon zest and pour in hot vegetable stock. Bring to a simmer and cook for about 8–10 minutes, stirring occasionally. -
Add spring veg:
When the orzo is nearly cooked, stir in the broccoli, chard stems, and peas. Cook for another 3–4 minutes, then add the chard leaves for the final 2 minutes to just wilt. -
Season & finish:
Squeeze in lemon juice, season well with salt and pepper. If the mixture thickens too much, add a splash more hot water. -
Toast seeds:
While the orzo cooks, toast the seeds in a dry frying pan over medium heat until golden and starting to pop. Remove from heat. -
Serve:
Spoon the creamy orzo into bowls, drizzle with olive oil or plant-based yogurt, scatter with toasted seeds and fresh herbs. A little extra lemon juice or chilli oil is lovely too!
Optional additions:
- Stir in wild garlic, sorrel, or nettles at the end of cooking, these can add a lovely twist.
- Swap orzo for pearl barley or quinoa if preferred.
- Add a spoon of miso paste for an umami boost.
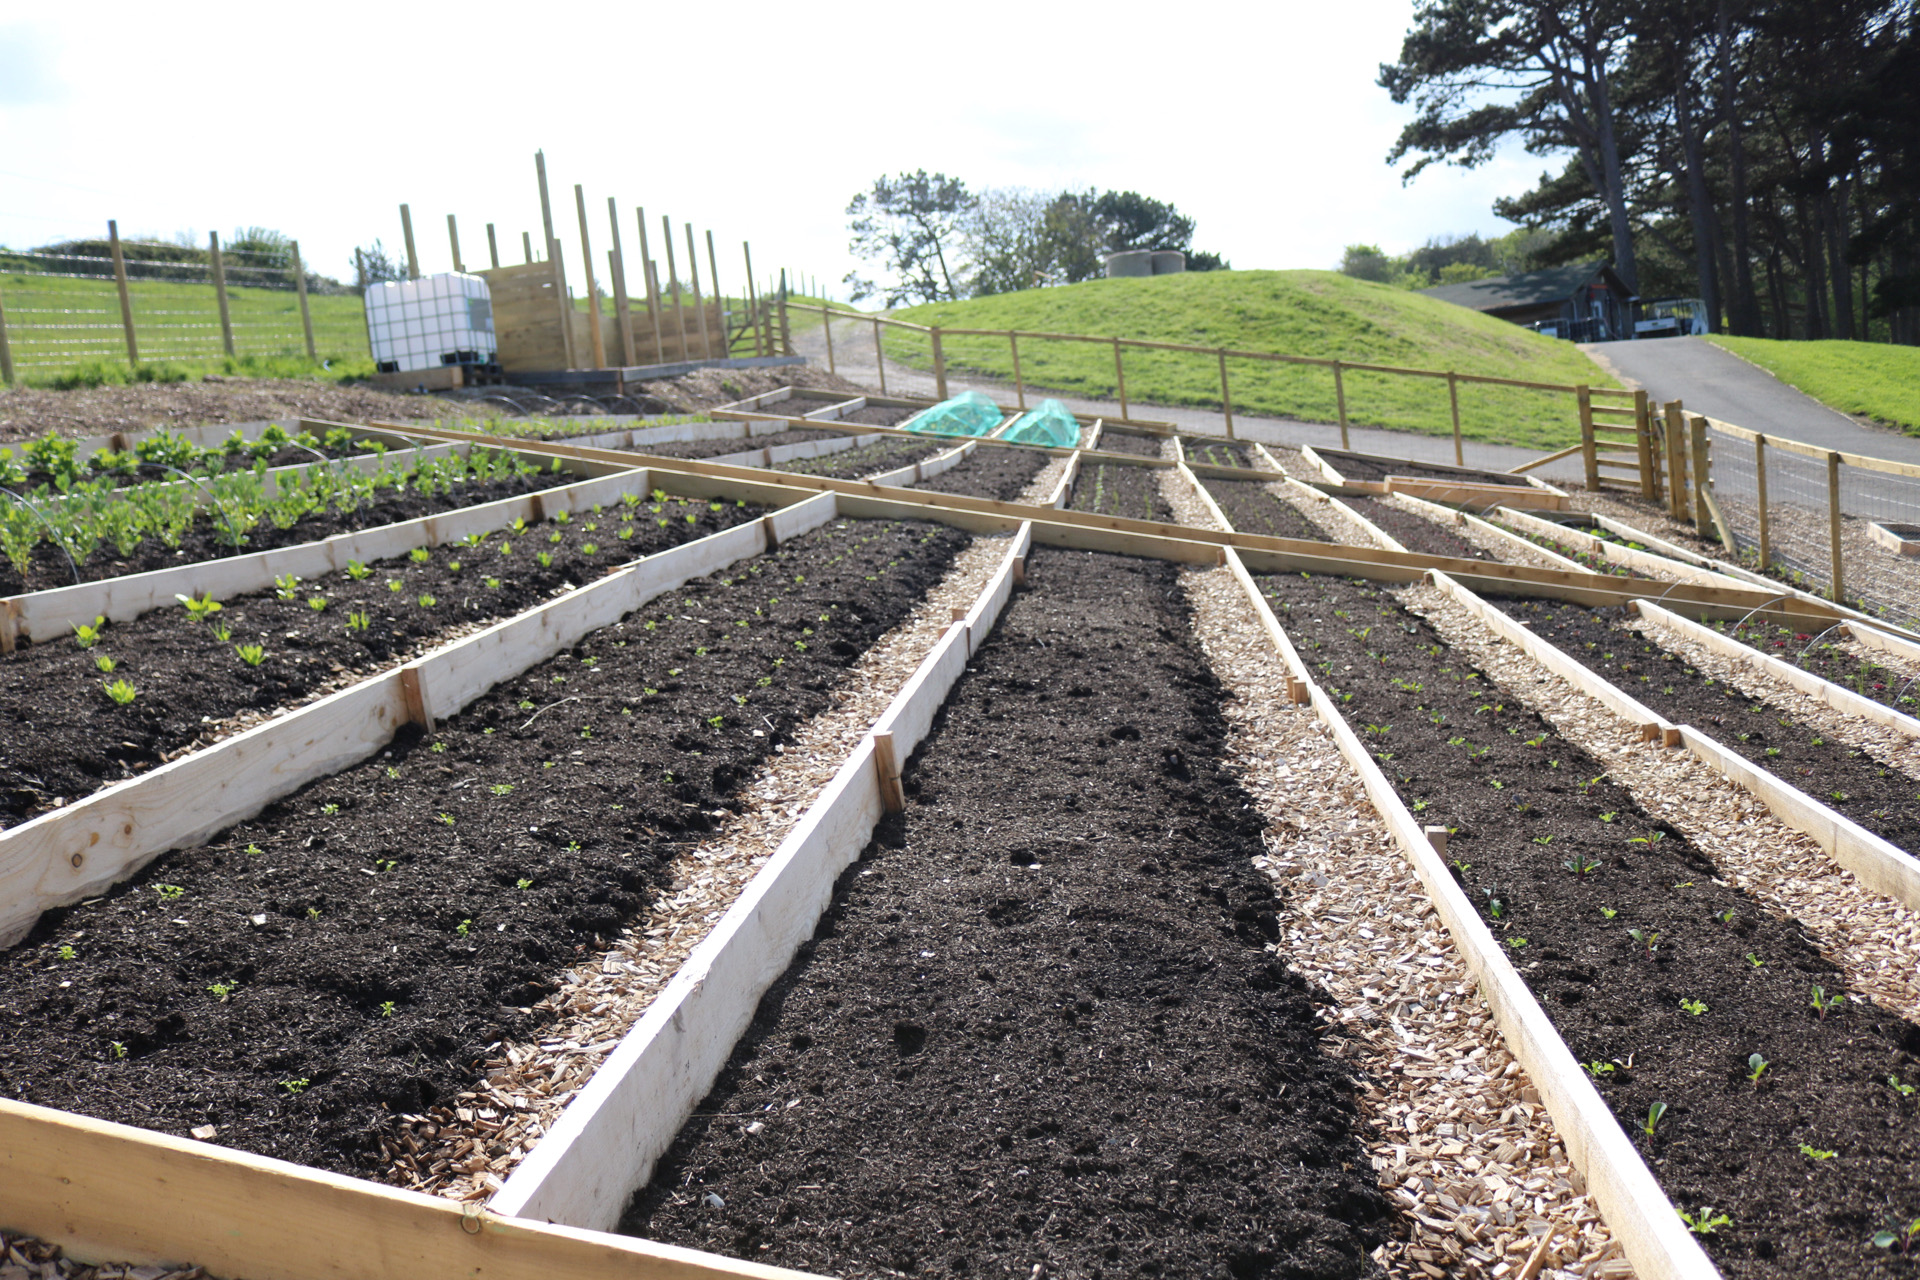
Community Garden Update – Late April Edition
It’s been a whirlwind few weeks in the community garden, but things are really starting to take shape now!
The polytunnel is set up! — our no dig beds are made and ready to take their first plantings, we have also sown a lot of seeds which are appreciating the light and warmth.
Our Water Harvesting station is built! - and is eagerly awaiting a proper down pour. We have so far managed to collect a few watering cans but I'm sure the British rain will return soon and we are ready to collect it 😂
Our first round of volunteer days were a joy — full of tea, planting, and connection. We managed to get the perennial rows of fruit bushes and trees in the ground, and it already feels like the bones of a beautiful, productive space are coming together.
If you’d like to get involved, we have two volunteer/learn days coming up which will be focused on No-Dig bed prep. We are have limited spaces available so to book on (they're free) just follow the links below 😊
 |
 |
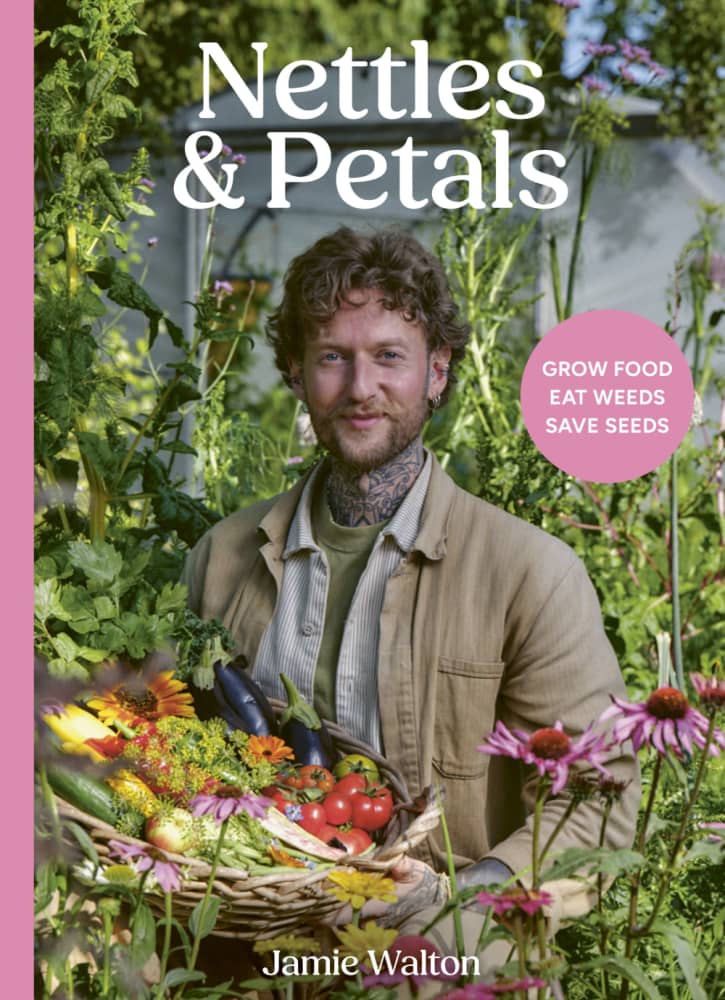
Lastly, I just want to say thank you again for all of your kind messages, shares, and support since the release of my book earlier this month — it really does mean the world. I’ve been totally blown away by the response, and if you’ve already got yourself a copy, I hope it’s brought some inspiration to your spring gardening so far! If not and you’d like to grab one, you can still find it in most bookshops or order online here:
 |
That’s all from me for now — I’ll be back in early May with more tips and updates. Until then, I hope you find plenty of time to enjoy your garden, even just a moment here and there to notice the bees buzzing, the first blooms of blossom, or the gentle unfurling of new leaves.
As always, I love hearing what you’re growing and enjoying right now — just leave a comment below
Happy growing 🌱
Jamie x

Responses